利用 Google App Script 製造 Plurk 轉噗機器人的教學
在這篇教學中,會一步步說明如何製造一隻轉噗機器人。以下是你會需要的工具:
一隻 Plurk 帳號,用來轉噗的
一個 Google Drive 帳號,用來寄存機器人
電腦,你會需要修改一些程式碼(如果你要挑戰用手機應該也是可以)
Step 1. 建立好機器人帳號後,前往 註冊應用服務 ,裡面的資料不影響後續操作,也不會出現在公開檔案。 https://www.plurk.com/coin_exchange )。OAuth Callback 請留空。
Step 2. 點入測試工具
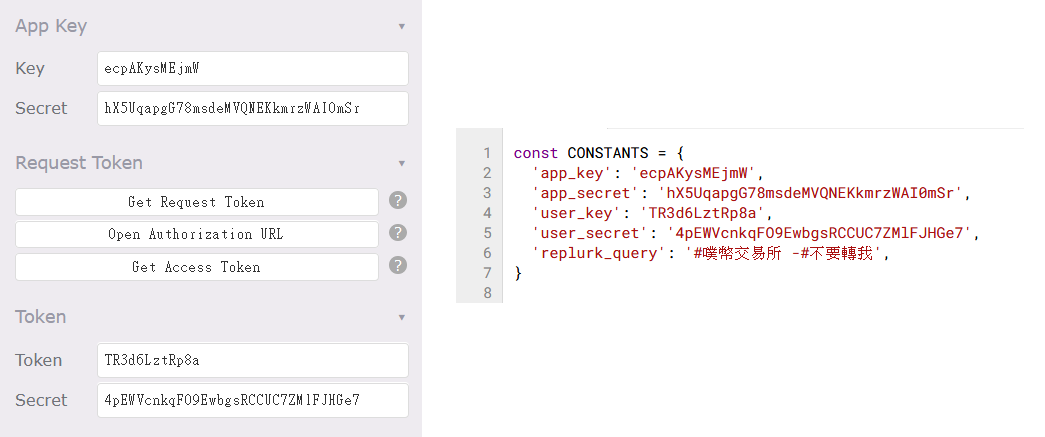
Step 3. Get Request Token、Open Authorization URL、Get Access Token) 在第二個按鈕(Open Authorization URL)會彈出視窗,點選授權後會取得數字,填入第三個按鈕(Get Access Token)跳出的輸入區。
Step 4. 保留左方四個輸入框的文字。(如果不小心遺失了,回到 應用服務 ,裡面的資料不影響後續操作,也不會出現在公開檔案。
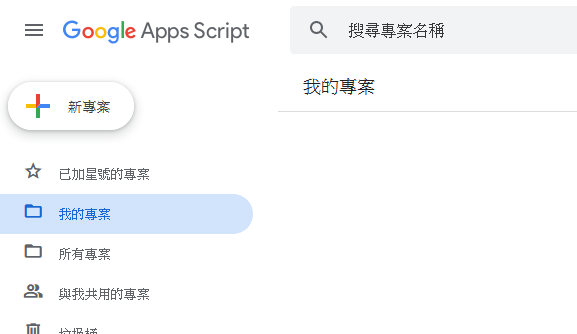
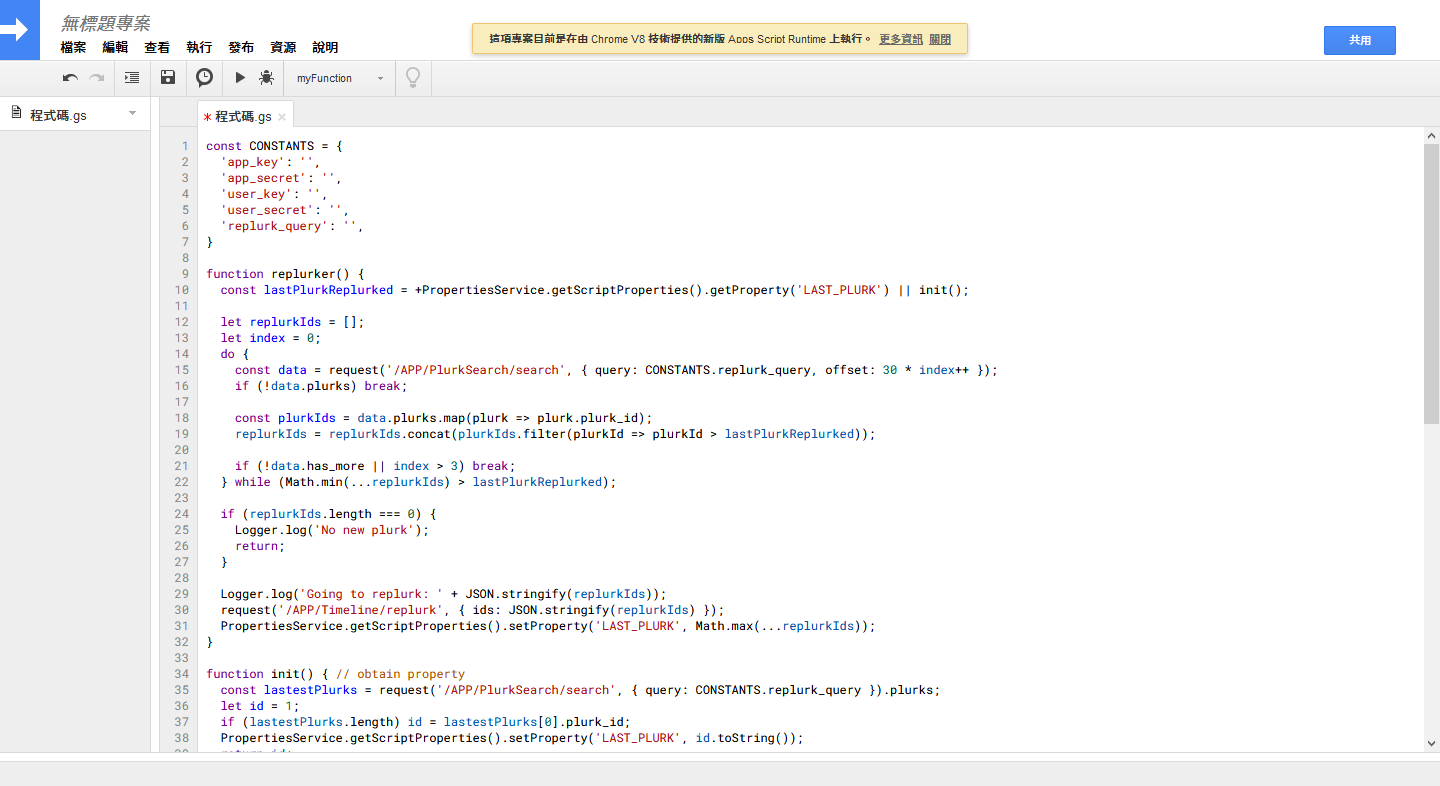
Step 5. 進入 Google Apps Script 並建立新專案。
Step 6. 複製以下程式碼,覆蓋其中區塊
1
2
3
4
5
6
7
8
9
10
11
12
13
14
15
16
17
18
19
20
21
22
23
24
25
26
27
28
29
30
31
32
33
34
35
36
37
38
39
40
41
42
43
44
45
46
47
48
49
50
51
52
53
54
55
56
57
58
59
60
61
62
63
64
65
66
67
68
69
70
71
72
73
74
75
76
77
78
const CONSTANTS = { 'app_key' : '' , 'app_secret' : '' , 'user_key' : '' , 'user_secret' : '' , 'replurk_query' : '' , } function replurker ( const lastPlurkReplurked = +PropertiesService .getScriptProperties ().getProperty ('LAST_PLURK' ) init (); let replurkIds = []; let index = 0 ; do { const data = request ('/APP/PlurkSearch/search' , { query : CONSTANTS .replurk_query , offset : 30 * index++ }); if (!data.plurks ) break ; const plurkIds = data.plurks .map (plurk =>plurk_id ); replurkIds = replurkIds.concat (plurkIds.filter (plurkId => if (!data.has_more index > 3 ) break ; } while (Math .min (...replurkIds) > lastPlurkReplurked); if (replurkIds.length === 0 ) { Logger .log ('No new plurk' ); return ; } Logger .log ('Going to replurk: ' + JSON .stringify (replurkIds)); request ('/APP/Timeline/replurk' , { ids : JSON .stringify (replurkIds) }); PropertiesService .getScriptProperties ().setProperty ('LAST_PLURK' , Math .max (...replurkIds)); } function init ( const lastestPlurks = request ('/APP/PlurkSearch/search' , { query : CONSTANTS .replurk_query }).plurks ; let id = 1 ; if (lastestPlurks.length ) id = lastestPlurks[0 ].plurk_id ; PropertiesService .getScriptProperties ().setProperty ('LAST_PLURK' , id.toString ()); return id; } function request (endpoint, parameters, keySecret = CONSTANTS ) { if (!endpoint.startsWith ('https://' )) endpoint = 'https://www.plurk.com' + endpoint; const oauthParameters = { oauth_consumer_key : keySecret.app_key , oauth_token : keySecret.user_key , oauth_signature_method : 'HMAC-SHA1' , oauth_timestamp : Math .floor (+new Date () / 1000 ), oauth_nonce : Math .floor (Math .random () * 1000 ), oauth_version : '1.0' } const baseString = getBaseString ('POST' , endpoint, oauthParameters); oauthParameters['oauth_signature' ] = encodeURIComponent (sign (keySecret.app_secret , keySecret.user_secret , baseString)); const authHeader = 'OAuth ' + Object .entries (oauthParameters).map (pair =>`${pair[0 ]} ="${pair[1 ]} "` ).join (', ' ); return JSON .parse (UrlFetchApp .fetch (endpoint, { method : 'post' , contentType : 'application/json' , payload : JSON .stringify (parameters), headers : { 'Authorization' : authHeader } }).getContentText ()); } function sign (consumerKey, userKey, baseString ) { return Utilities .base64Encode ( Utilities .computeHmacSignature (Utilities .MacAlgorithm .HMAC_SHA_1 , baseString, consumerKey + '&' + userKey) ); } function getBaseString (method, url, parameters ) { const params = Object .entries (parameters).sort ((a, b ) => a[0 ].localeCompare (b[0 ])); return method.toUpperCase () + '&' + encodeURIComponent (url)+ '&' + encodeURIComponent (params.map (pair =>join ('=' )).join ('&' )); }
Step 7. 在最開頭的地方,將 Step 4. 取得的分別填入其中,並在 replurk_query 後的引號中,輸入要轉噗的查詢字串。 可以利用 -<關鍵字> 排除某些字眼,在下圖的案例中,若是噗文 #噗幣交易所 賣噗幣 10 顆 500 元 #不要轉我 就不會被轉噗。
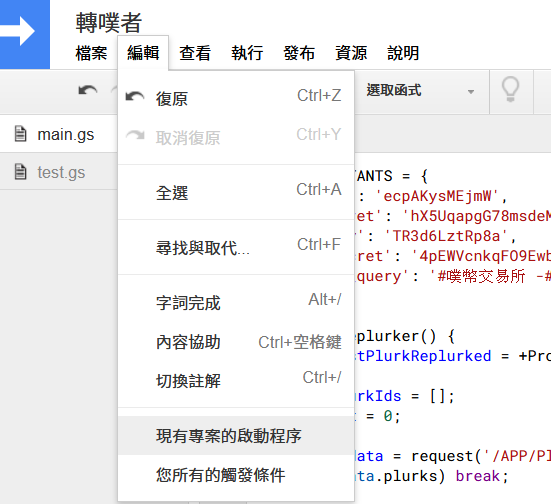
Step 8. 儲存會提示取個名字,可以自由選擇。會在雲端硬碟中新增檔案,請留意不要刪除 。接著選擇編輯 → 現有專案的啟動程序
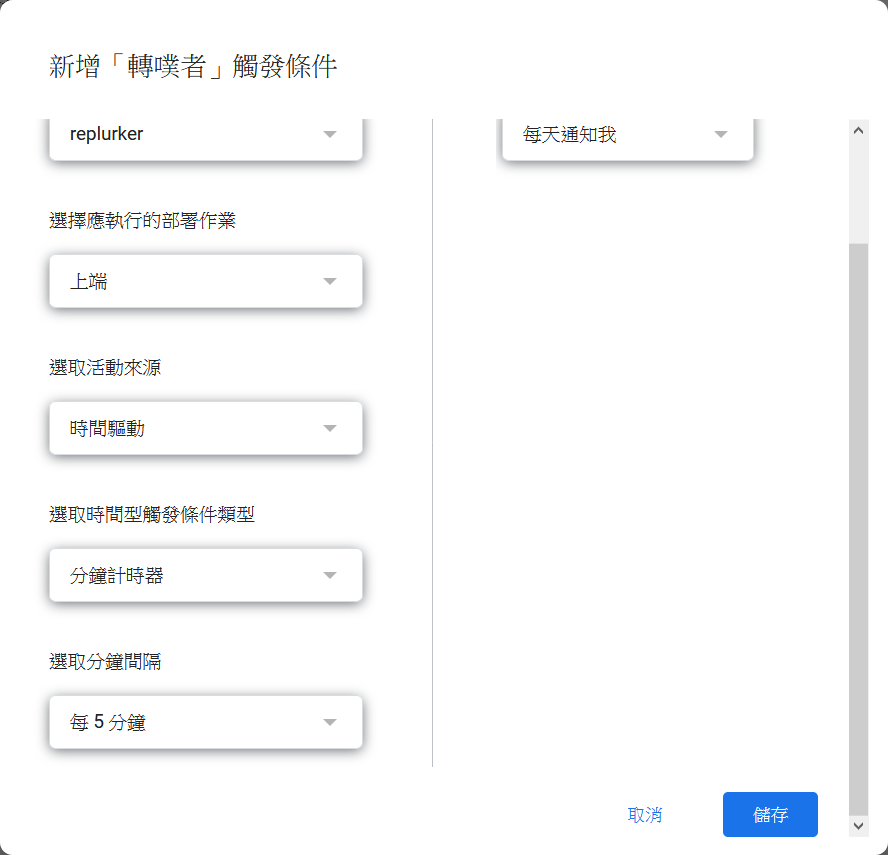
Step 9. 選取時間型觸發條件類型改為分鐘計時器,選去分鐘間隔可選擇每 5 分鐘。須留意第一項應該要是 replurker,若有不同請自行調整,接著就可以儲存了。
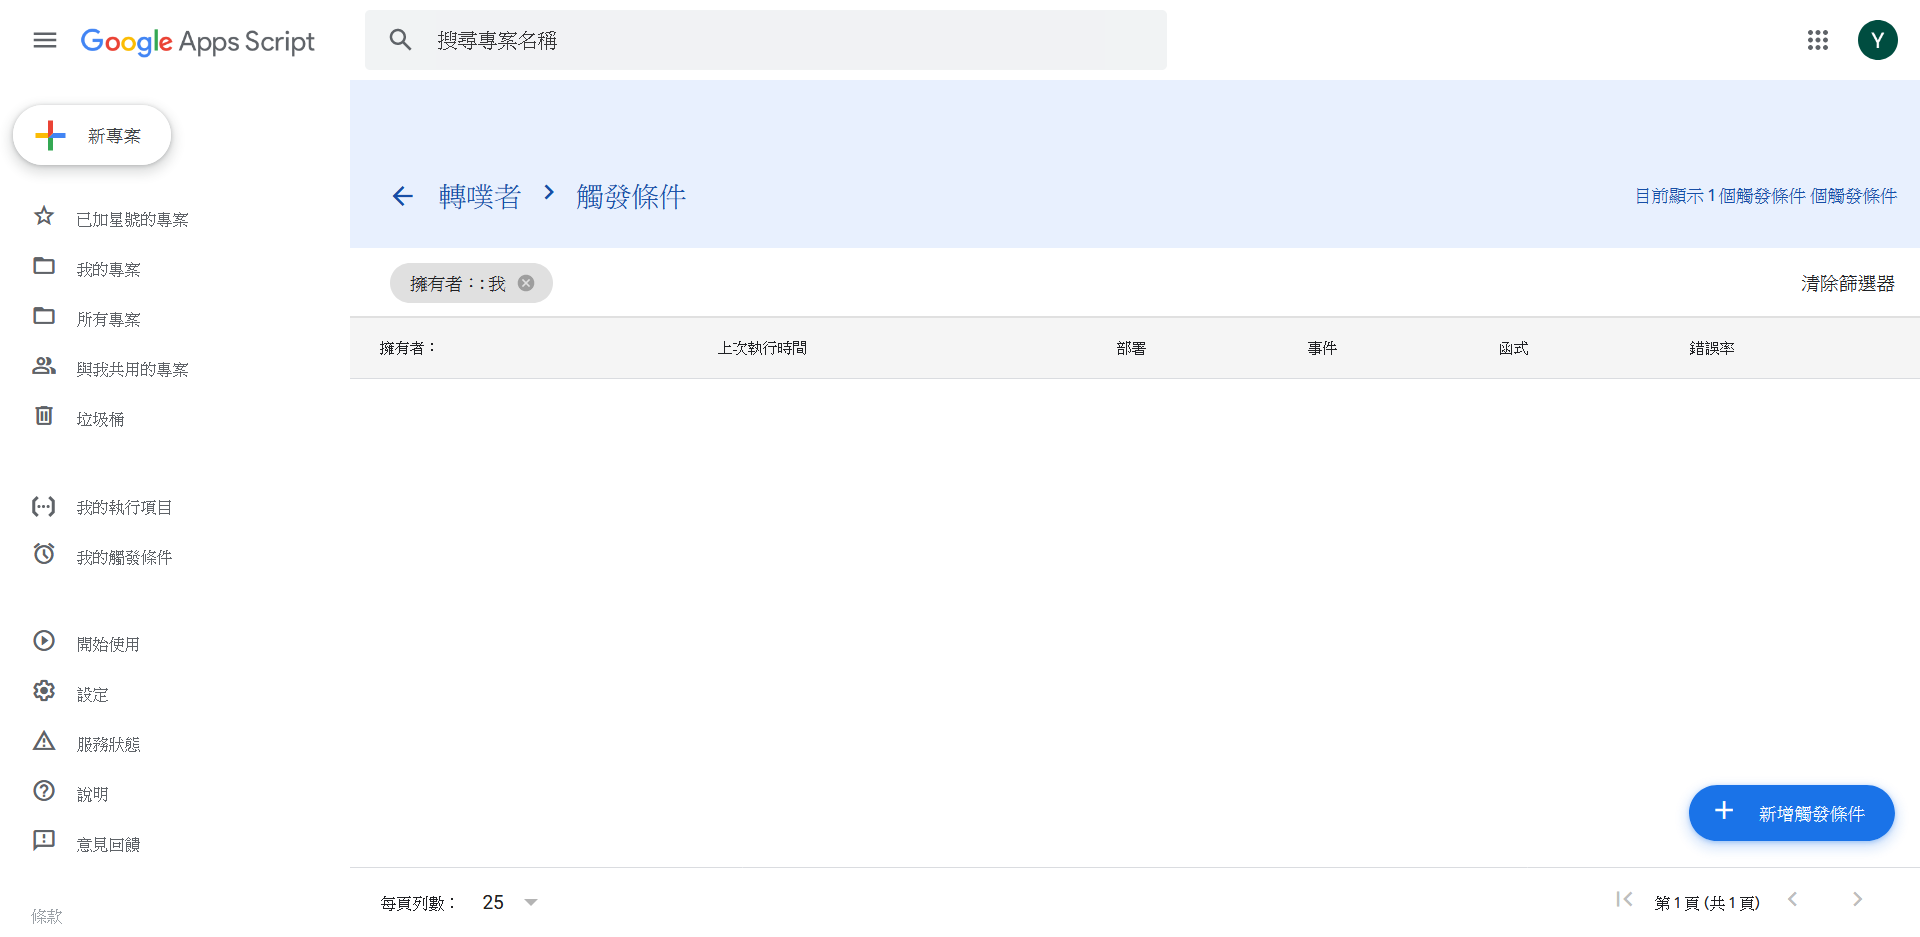
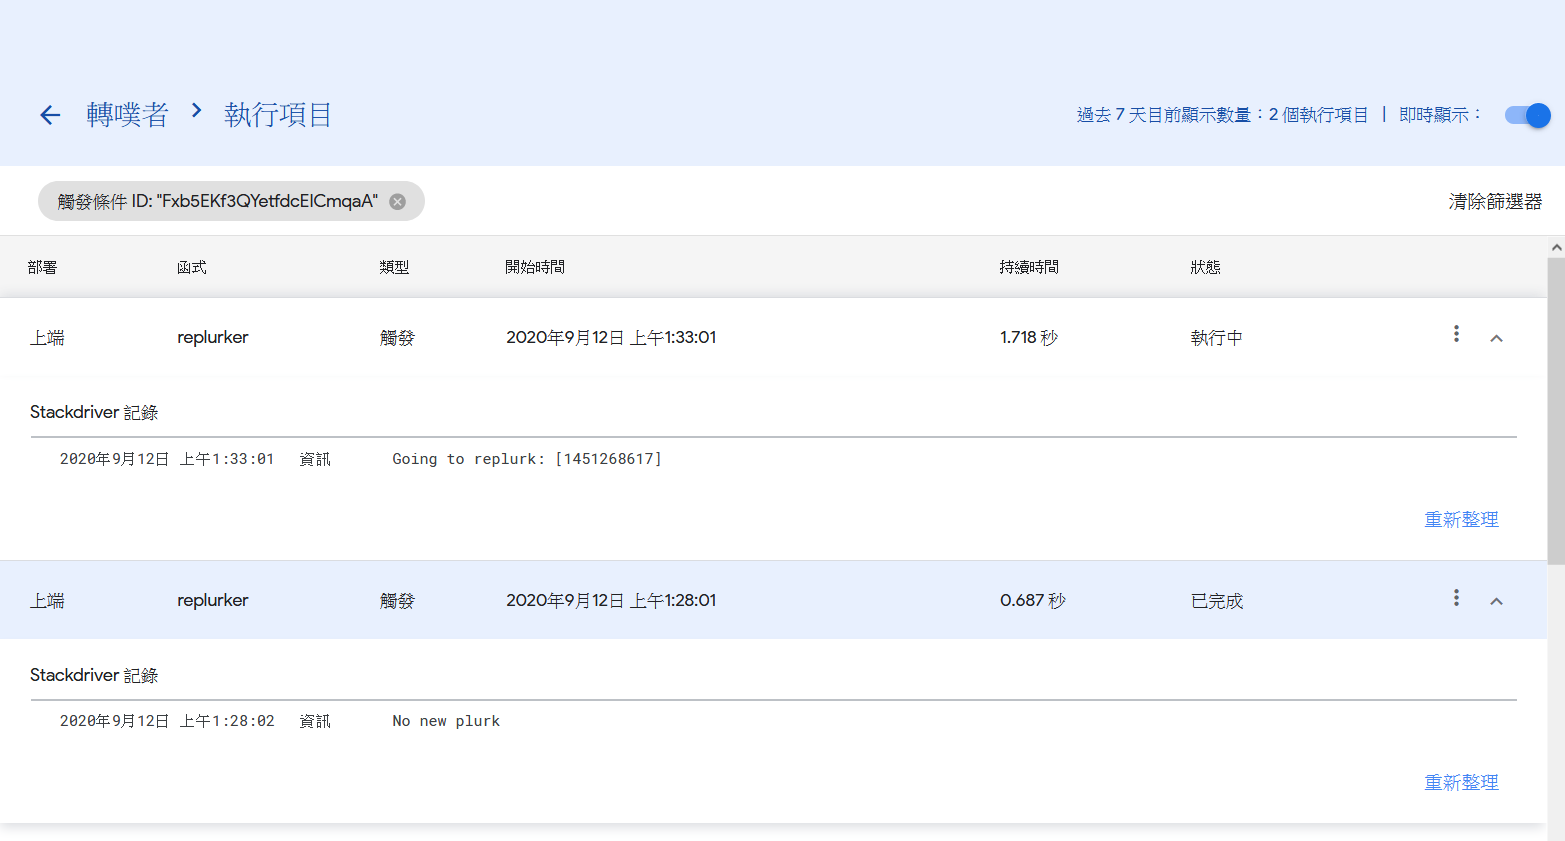
After 到這裡就完成轉噗機器人的製造了。如果想觀察機器人做了什麼,可以從右方的三個點進入 → 執行項目。
若是有符合條件的噗文,點開會看到 Going to replurk: [...],若否,則會看到 No new plurk。
 官方網站可以填寫機器人的個人檔案(例如 https://www.plurk.com/coin_exchange )。OAuth Callback 請留空。
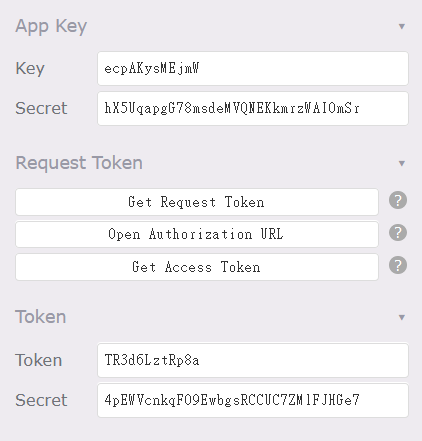 Request Token 下,由上至下依序點選按鈕(
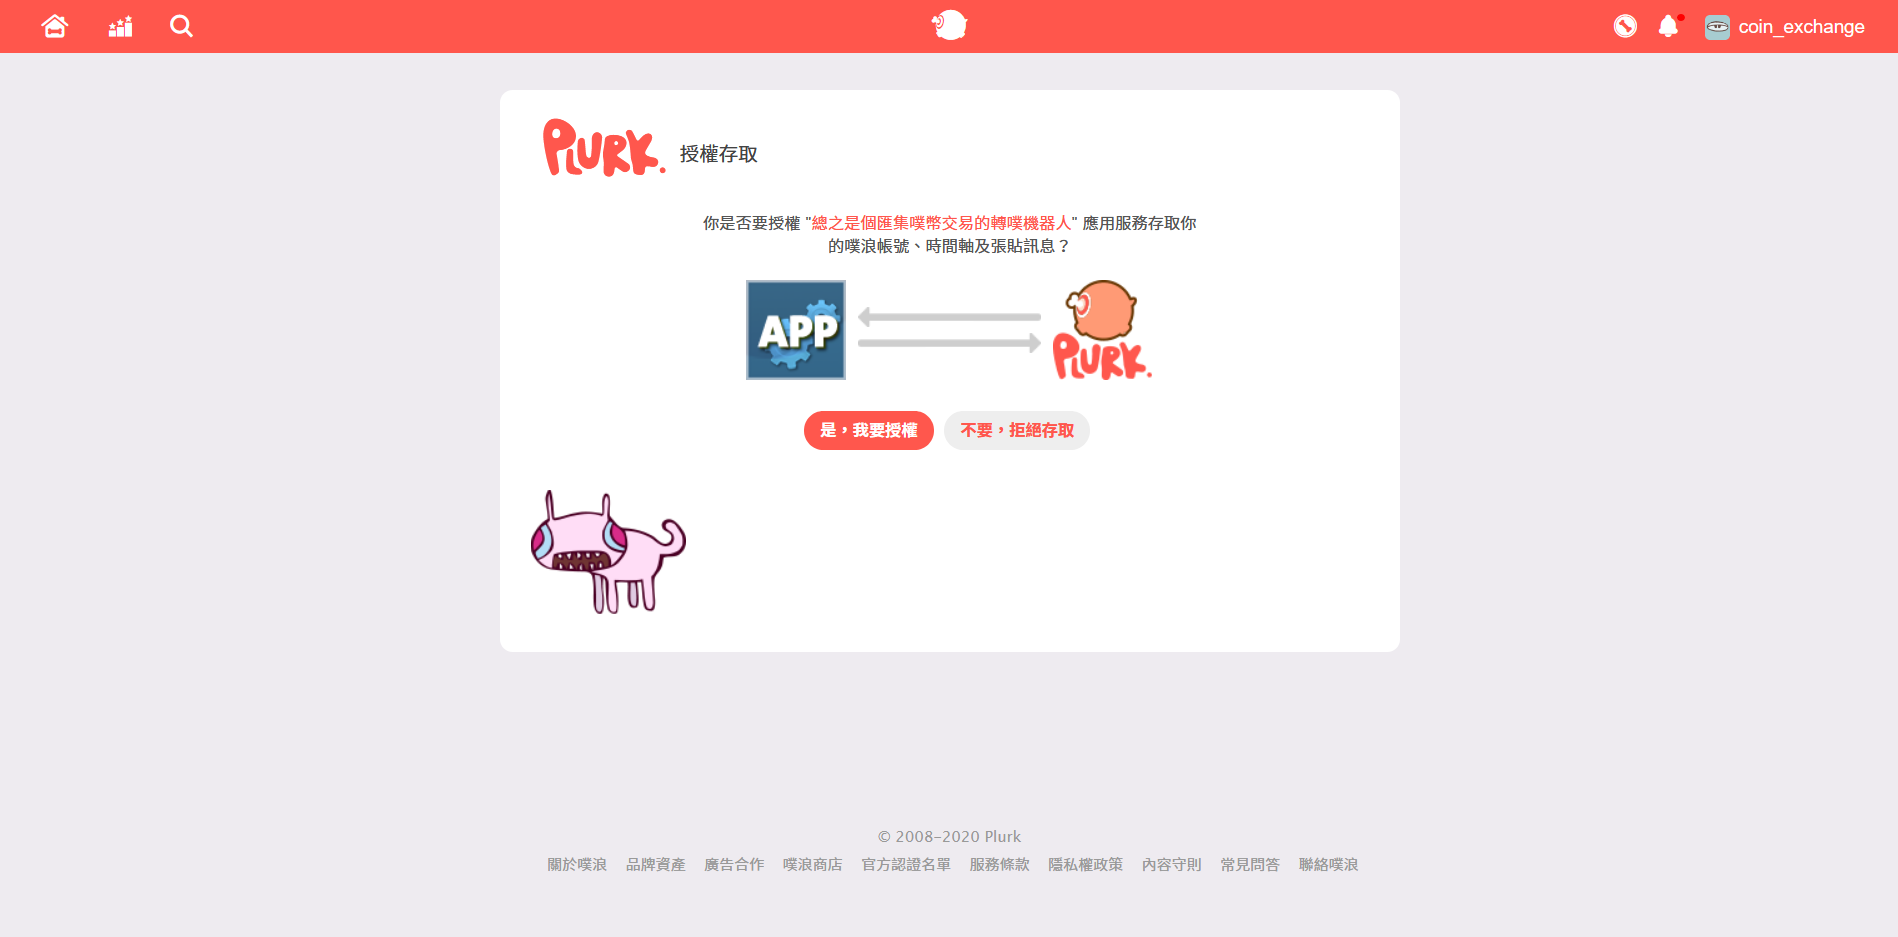
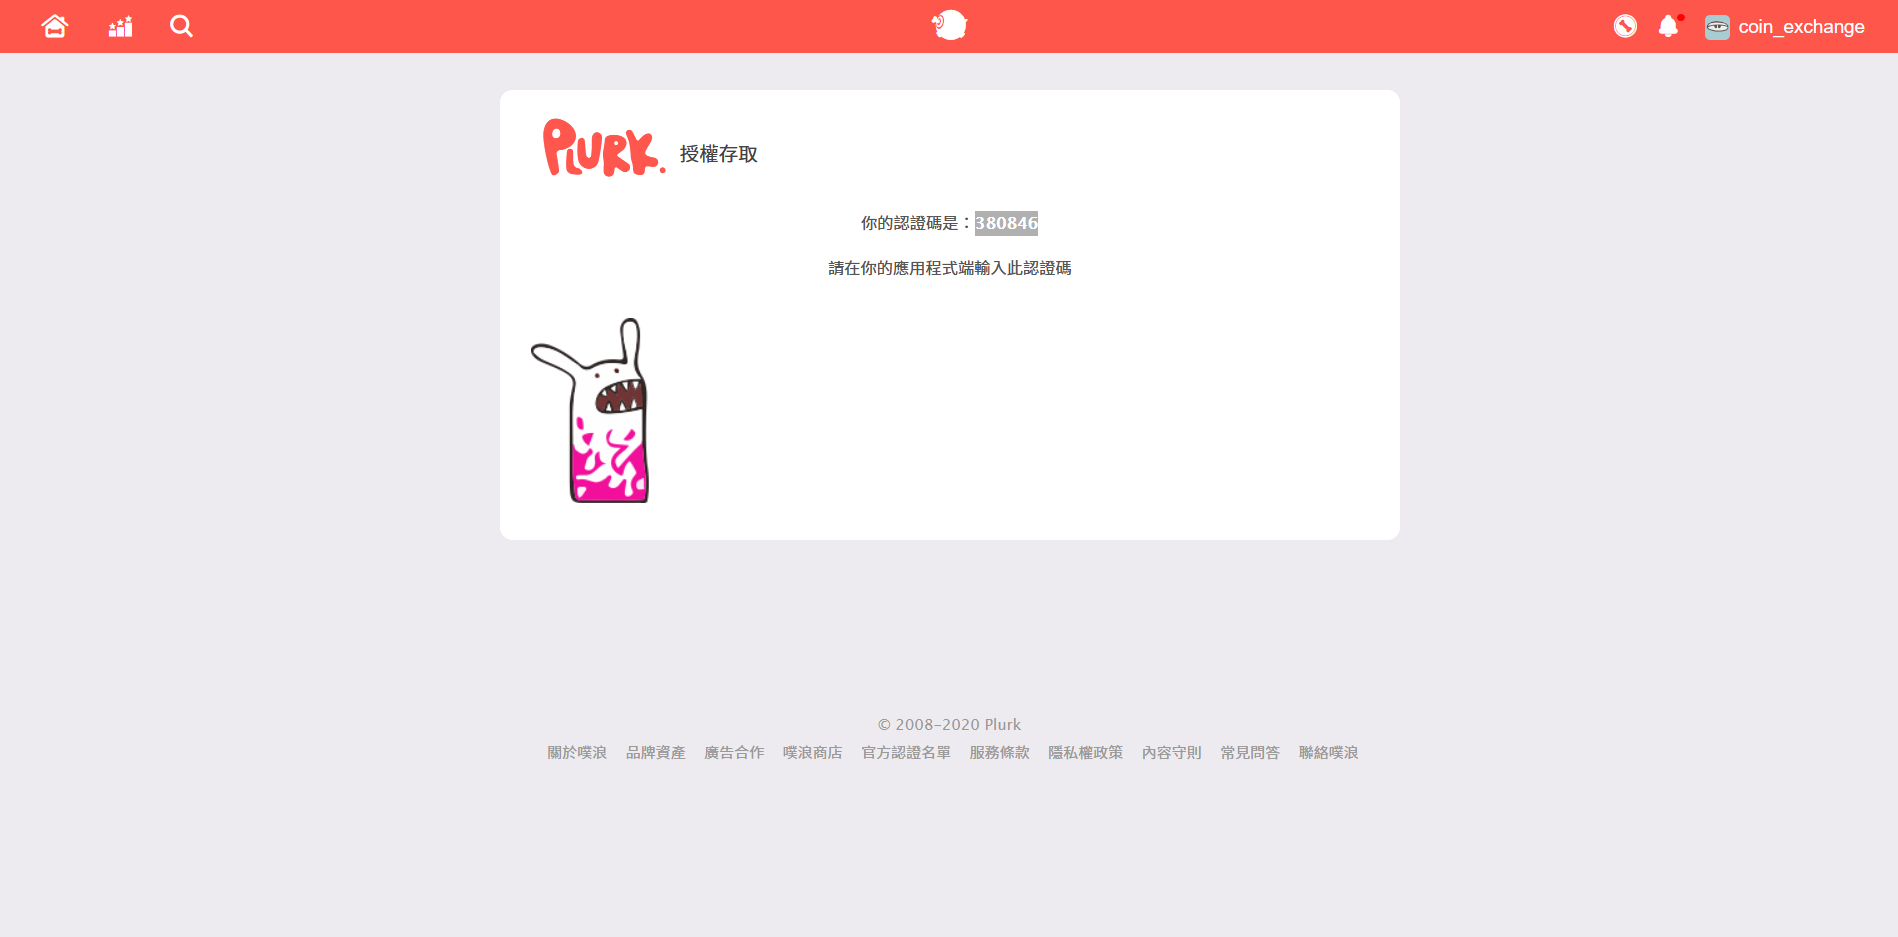 (上方的數字填入下方的輸入框)
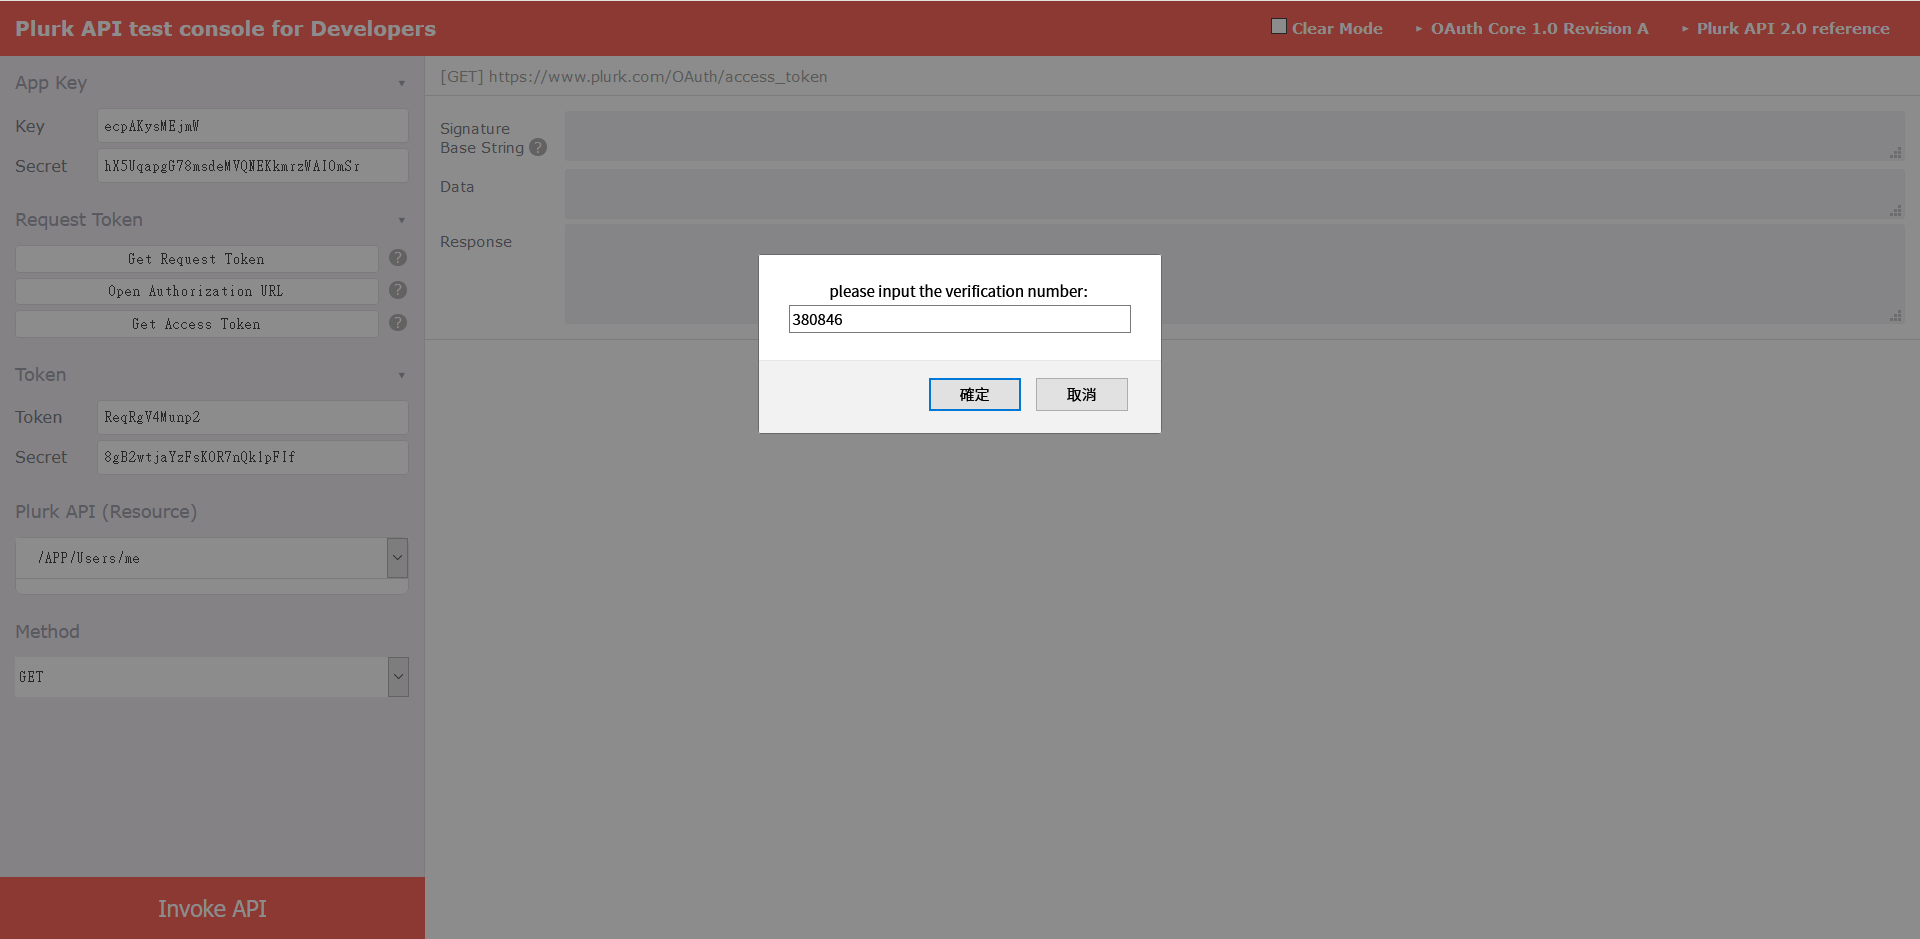
 右下角新增觸發條件